

Agent timezone
Set and update your agent's timezone for accurate scheduling and time-based operations.
Setting the correct timezone for your agent is crucial for accurate scheduling, appointment booking, and time-based operations. This ensures your agent operates according to your local business hours and can schedule meetings correctly.
Why timezone matters
- Accurate appointment scheduling with calendar integrations
- Proper business hours operation
- Correct time display in conversations
- Synchronized meeting invitations and confirmations
Method 1: Update via Settings
The most direct way to update your agent's timezone through the settings page.
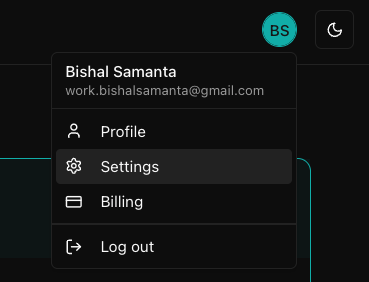
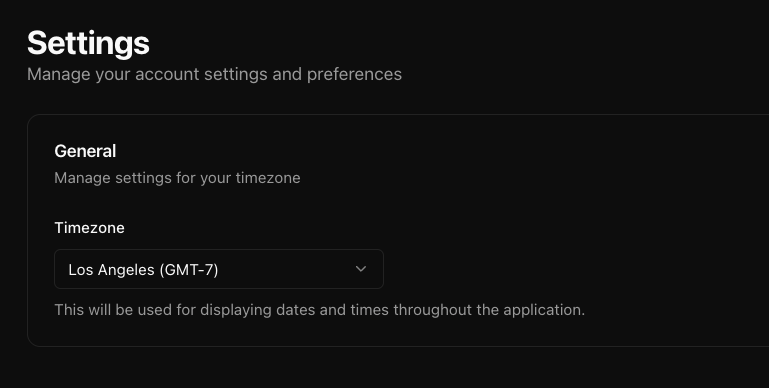
- Navigate to your dashboard and go to the Settings page
- Find the Timezone section and choose your desired timezone from the dropdown menu
- Your agent will now operate in the selected timezone
Method 2: Automatic timezone notification
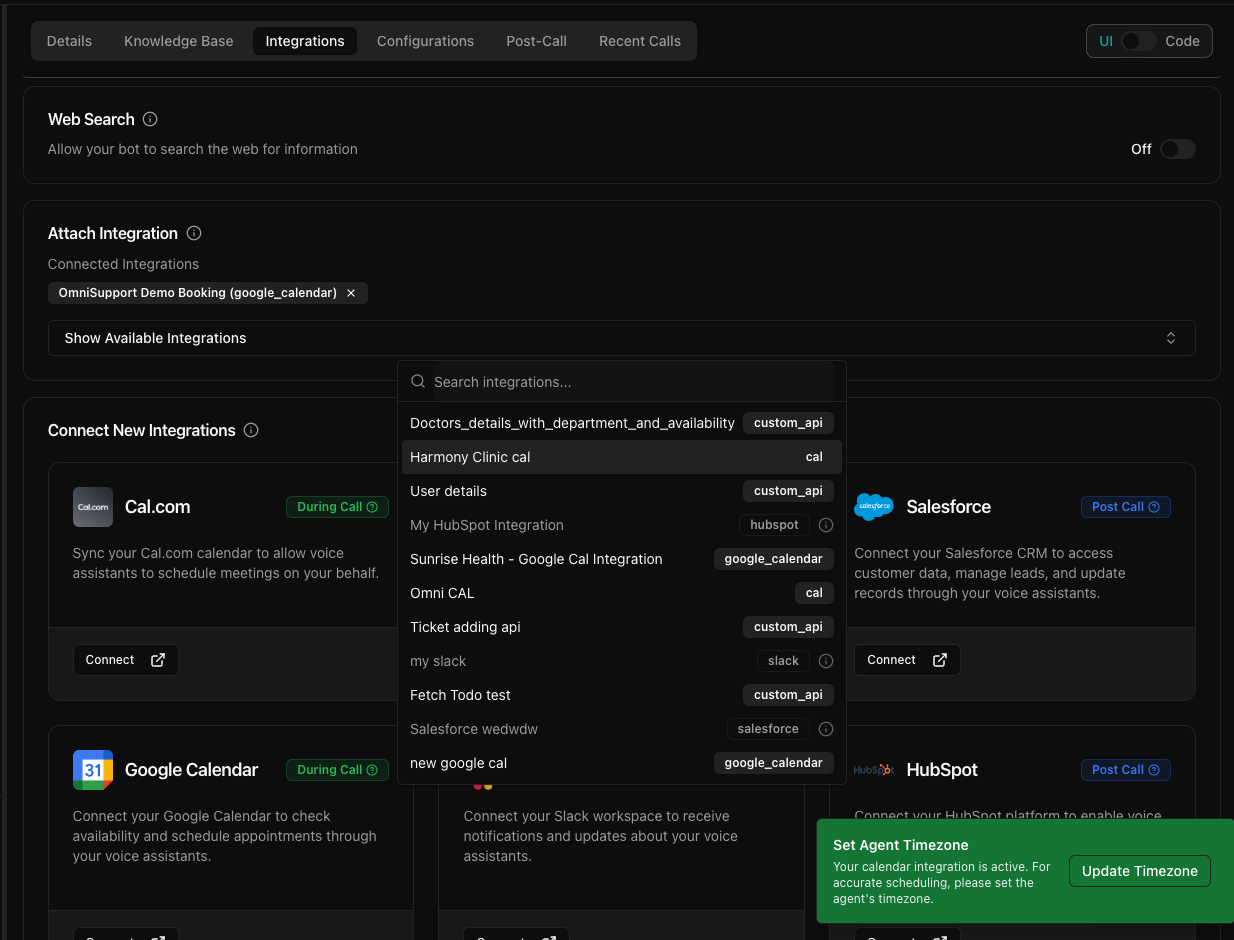
When you add calendar integrations, the system automatically prompts you to update the timezone.
- Add a Google Calendar or Cal.com integration to your agent
- A notification will automatically appear asking to update timezone
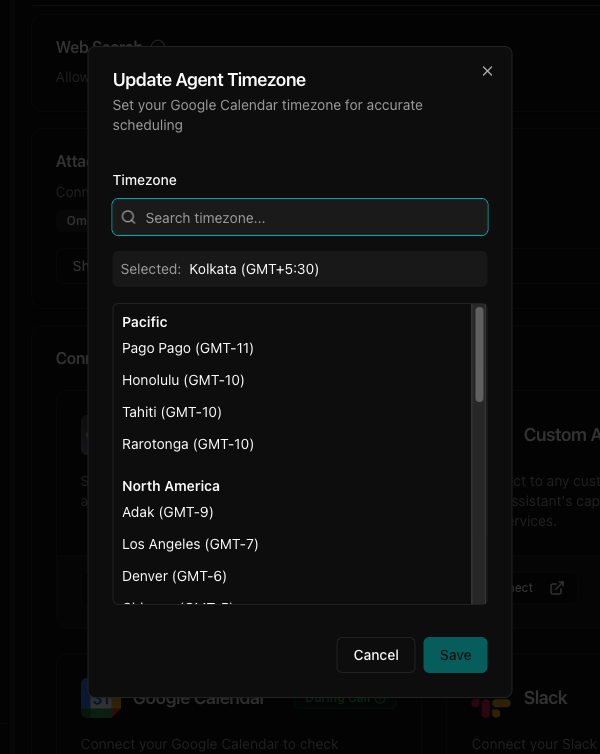
- Click on the "Update Timezone" notification
- From the timezone modal, select the appropriate timezone and save it
Method 3: Over the API
Set a timezone per agent with the timezone field on
create agent or
update agent, using an IANA
timezone name. Useful when you run agents for clients in different regions.
curl -X PUT https://backend.omnidim.io/api/v1/agents/{agent_id} \
  -H "Authorization: Bearer YOUR_API_KEY" \
  -H "Content-Type: application/json" \
  -d '{"timezone": "Asia/Kolkata"}'
An agent without its own timezone falls back to the account timezone from Settings.