

Set up your platform
Brand your OmniRelay platform, point your domain at us, and go live for your clients in about ten minutes.
Setup runs in your dashboard under Reseller → White Label. It is a short guided flow: branding, domain, then launch. Changes save as you go, so you can step away and come back at any time without losing your progress.
Before you start, it helps to have your logo file ready and access to your domain provider (where you manage DNS). Everything else you can fill in as you go.
1. Pick a plan
On the agency pricing page, choose the tier with the minutes and number of clients you need, and pay monthly. After payment, click Set up your platform to open the setup flow.
If you are not sure which tier fits, start with the one that covers your current client count. You can upgrade at any time, and the change takes effect immediately.
2. Branding
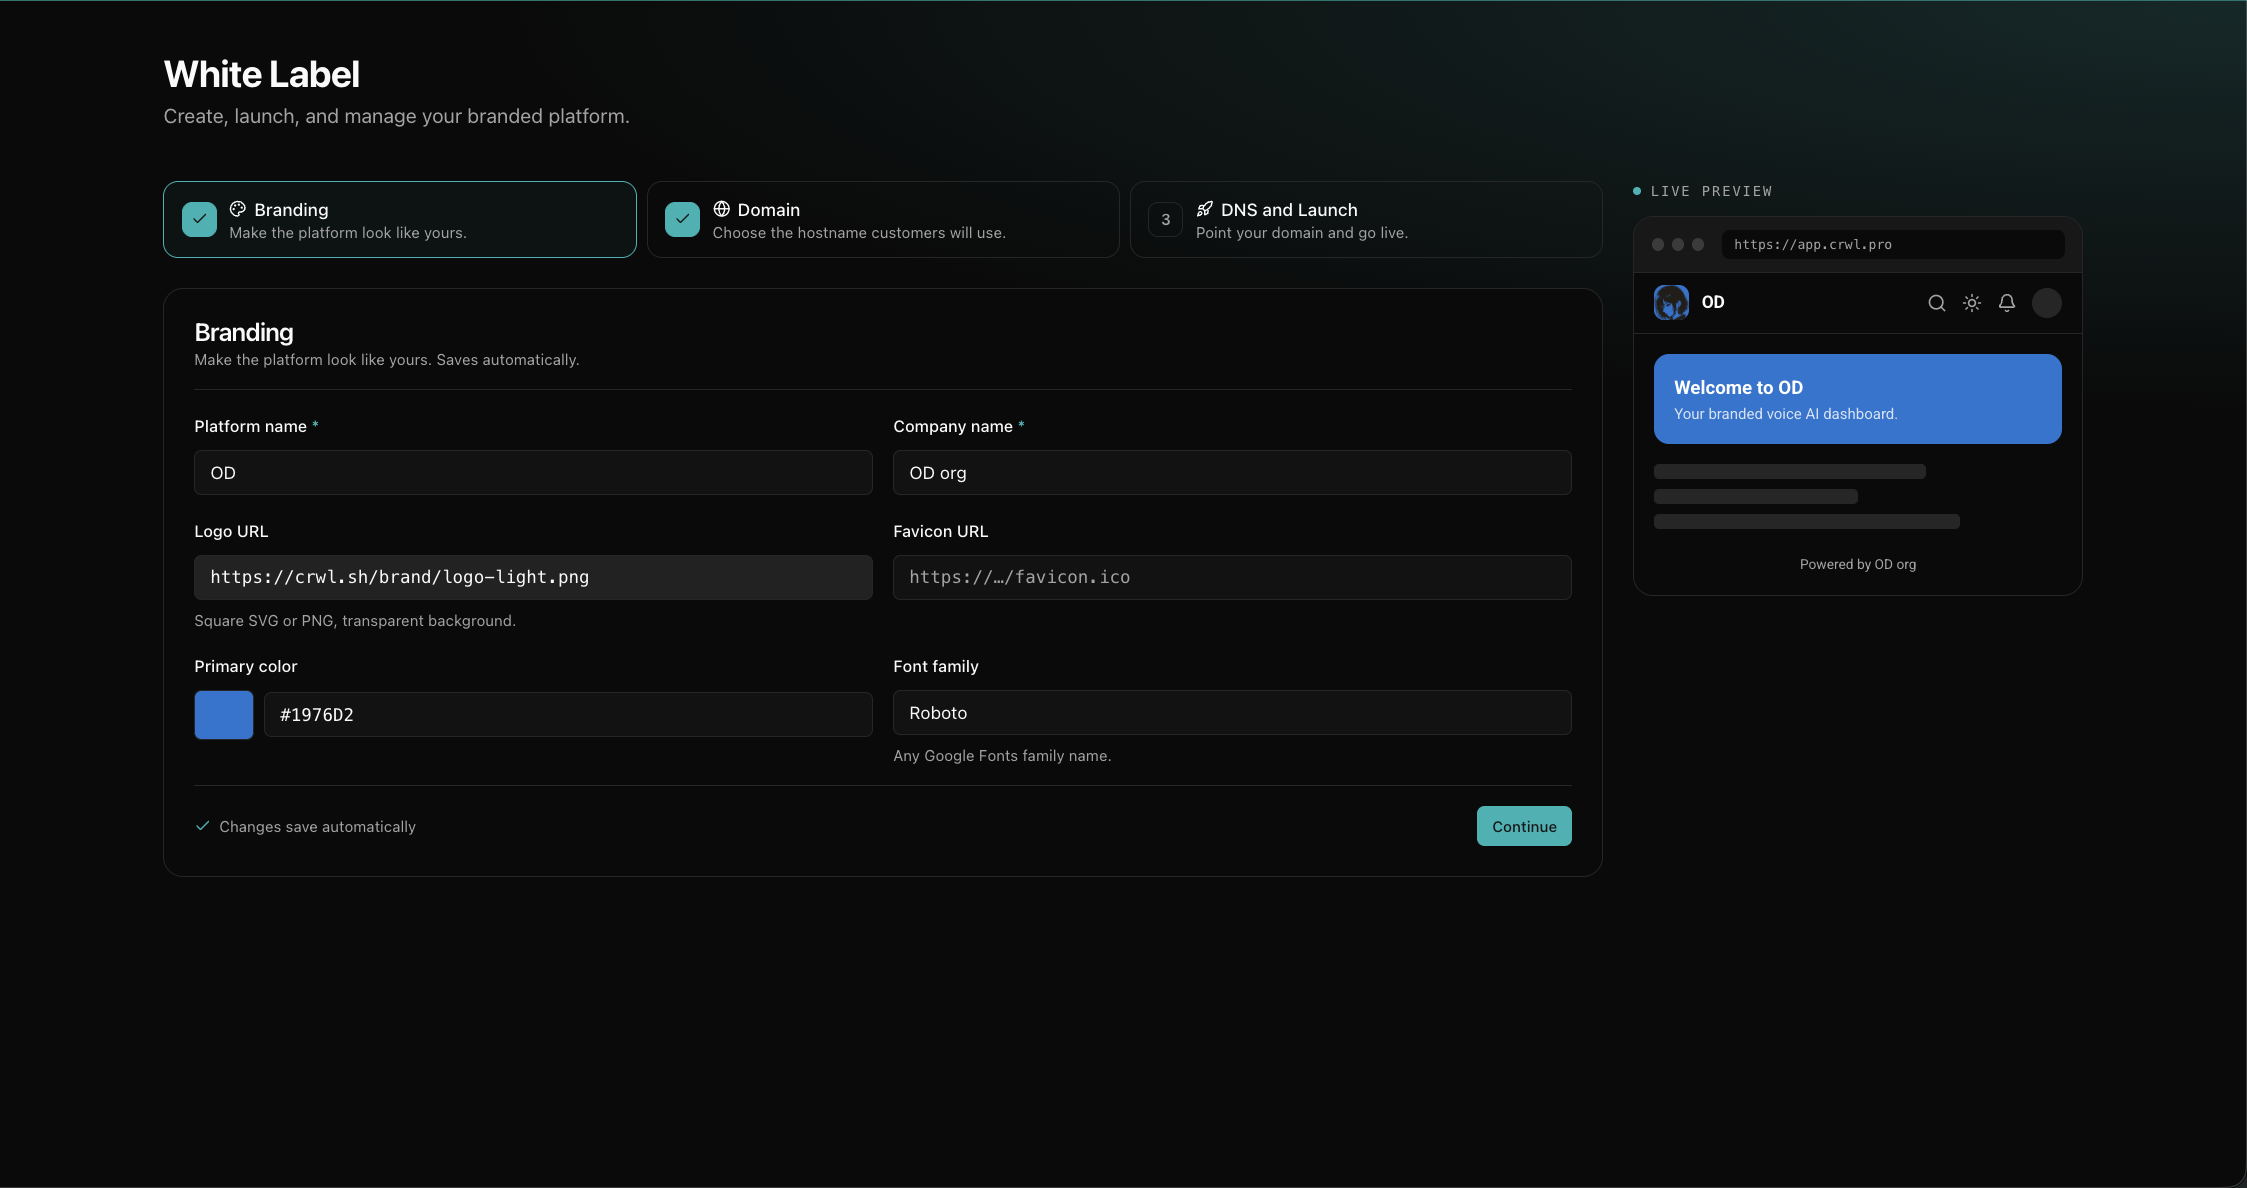
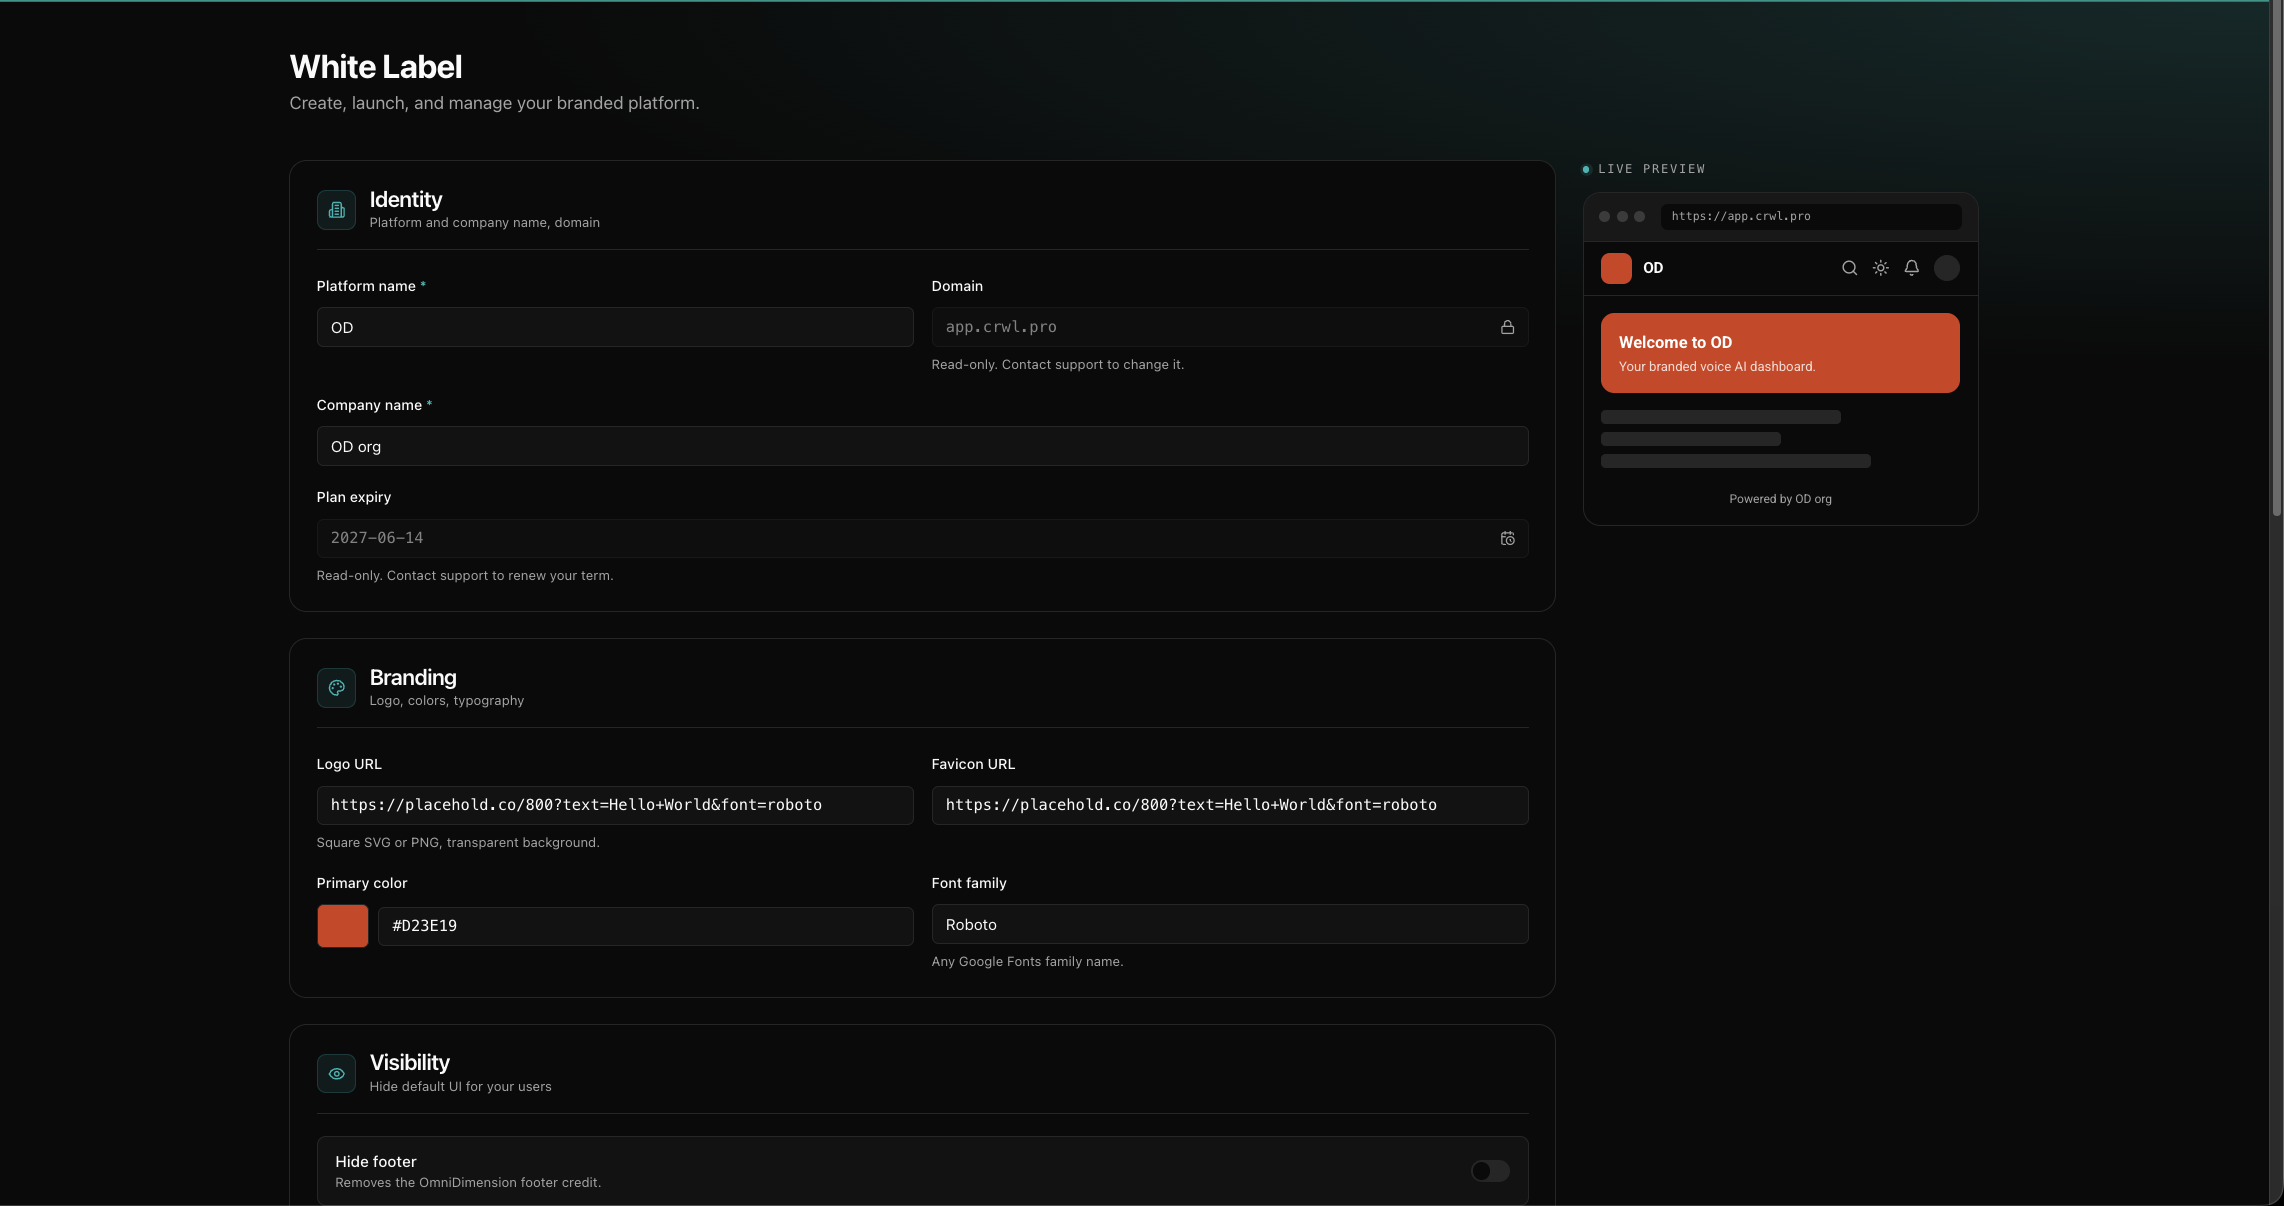
In the Branding step, add the details that make the platform yours:
- Platform name and company name. What your clients see in the title and footer.
- Logo and favicon. Your logo appears in the dashboard; the favicon shows in the browser tab. Use a logo with a transparent background so it sits cleanly on both light and dark backgrounds.
- Primary color. Your brand color, used for buttons and accents.
- Font family. The typeface used across the dashboard.
A live preview shows your changes as you type, so you can see exactly how the platform will look before you go live. You can come back and adjust any of this later.
3. Domain
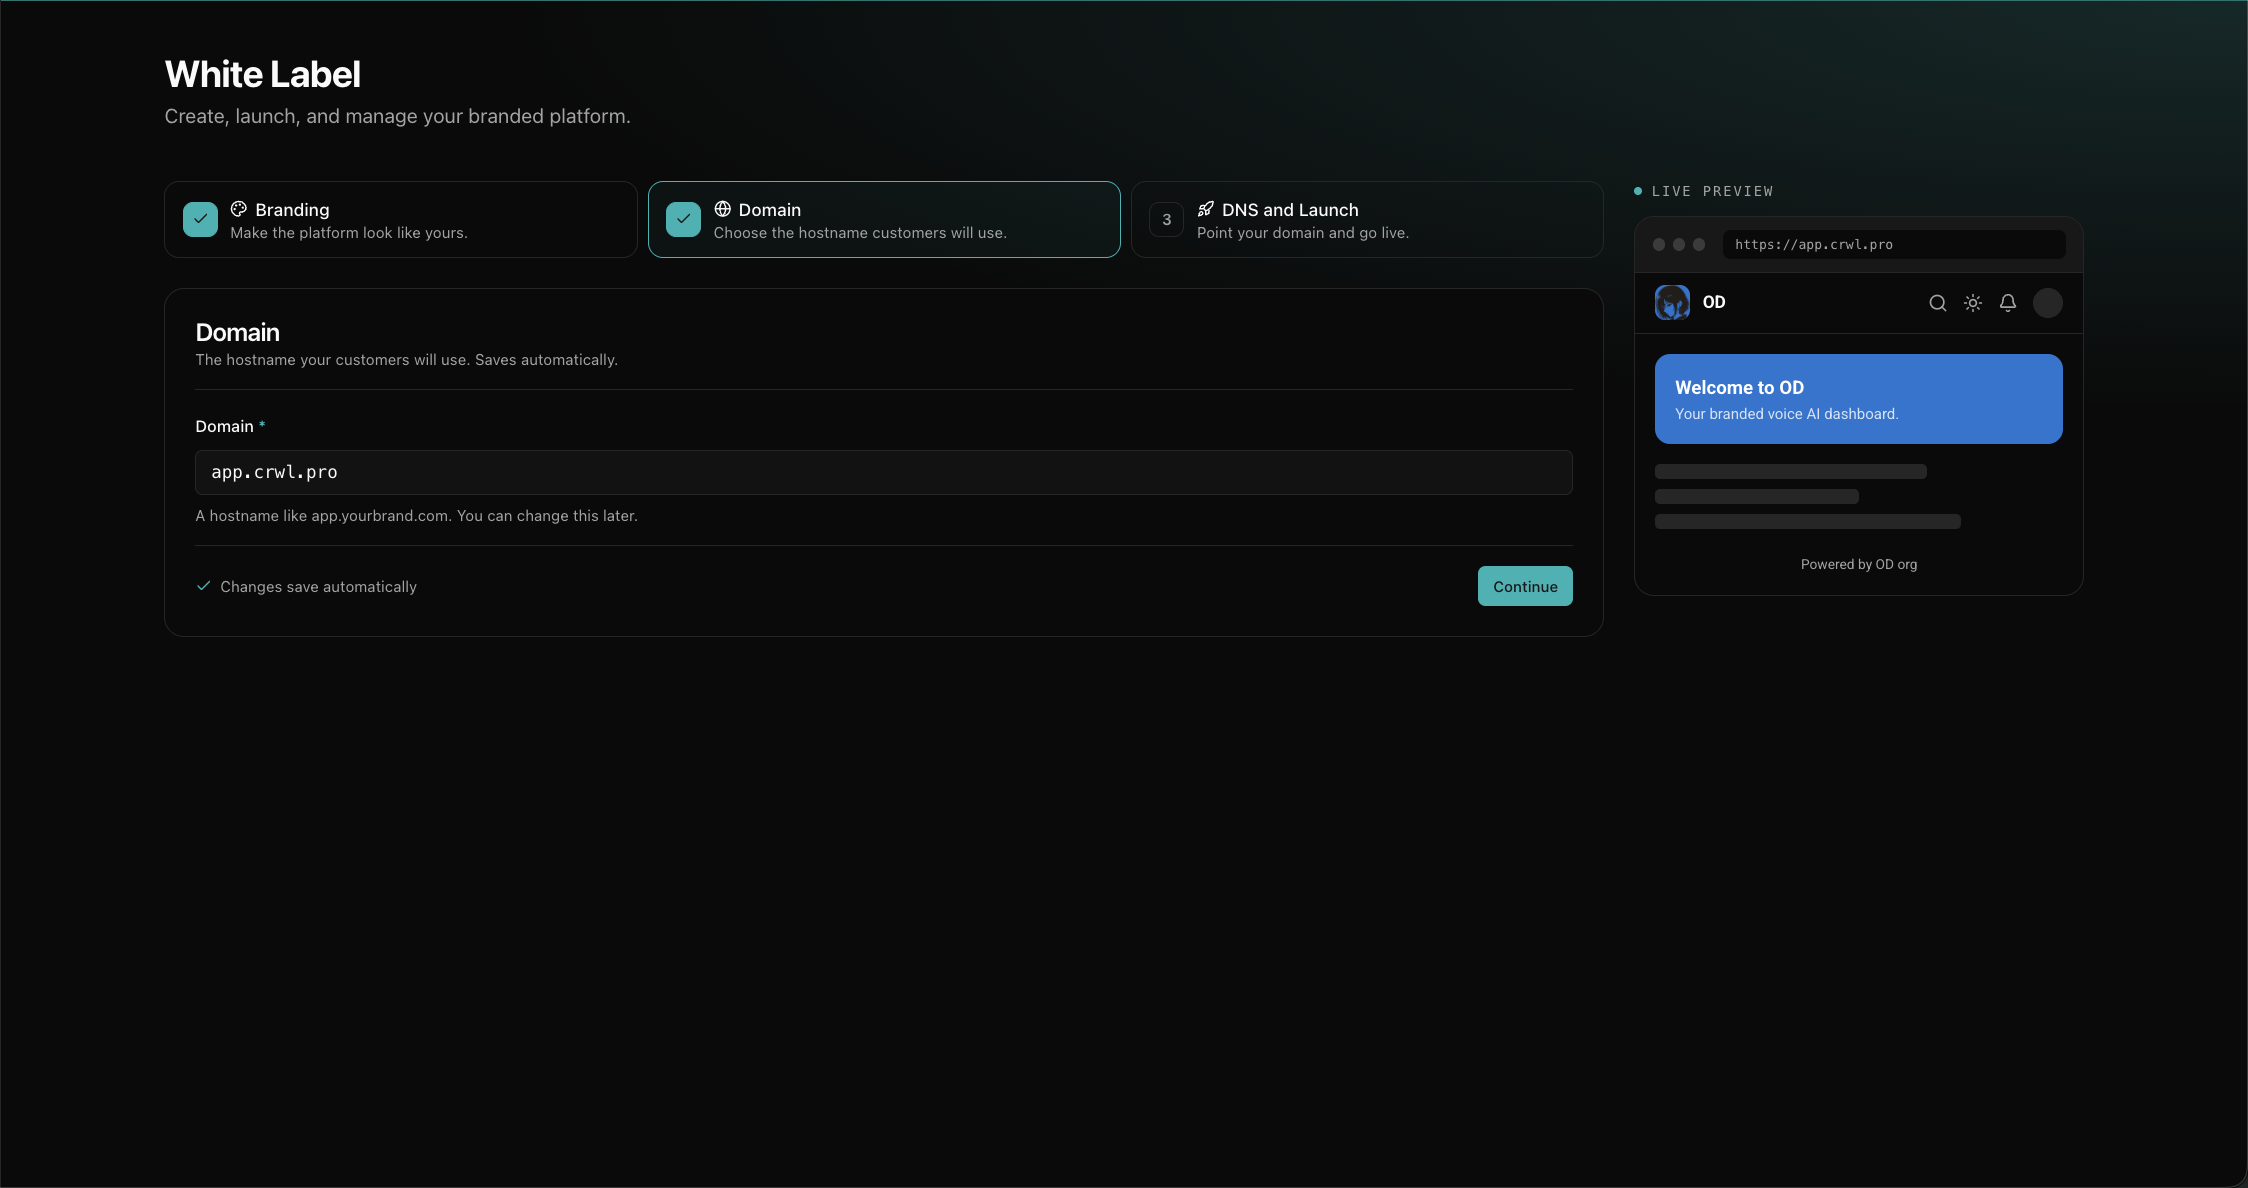
In the Domain step, enter the hostname your customers will use. Use a subdomain
such as app.yourbrand.com. It is the simplest and most portable option, and it works
on every domain provider. You can change it later if you need to.
A root domain (yourbrand.com) also works, with a slightly different DNS record. If
you plan to use one, read Connect your domain
first so you know which record to add.
4. Point your domain at us
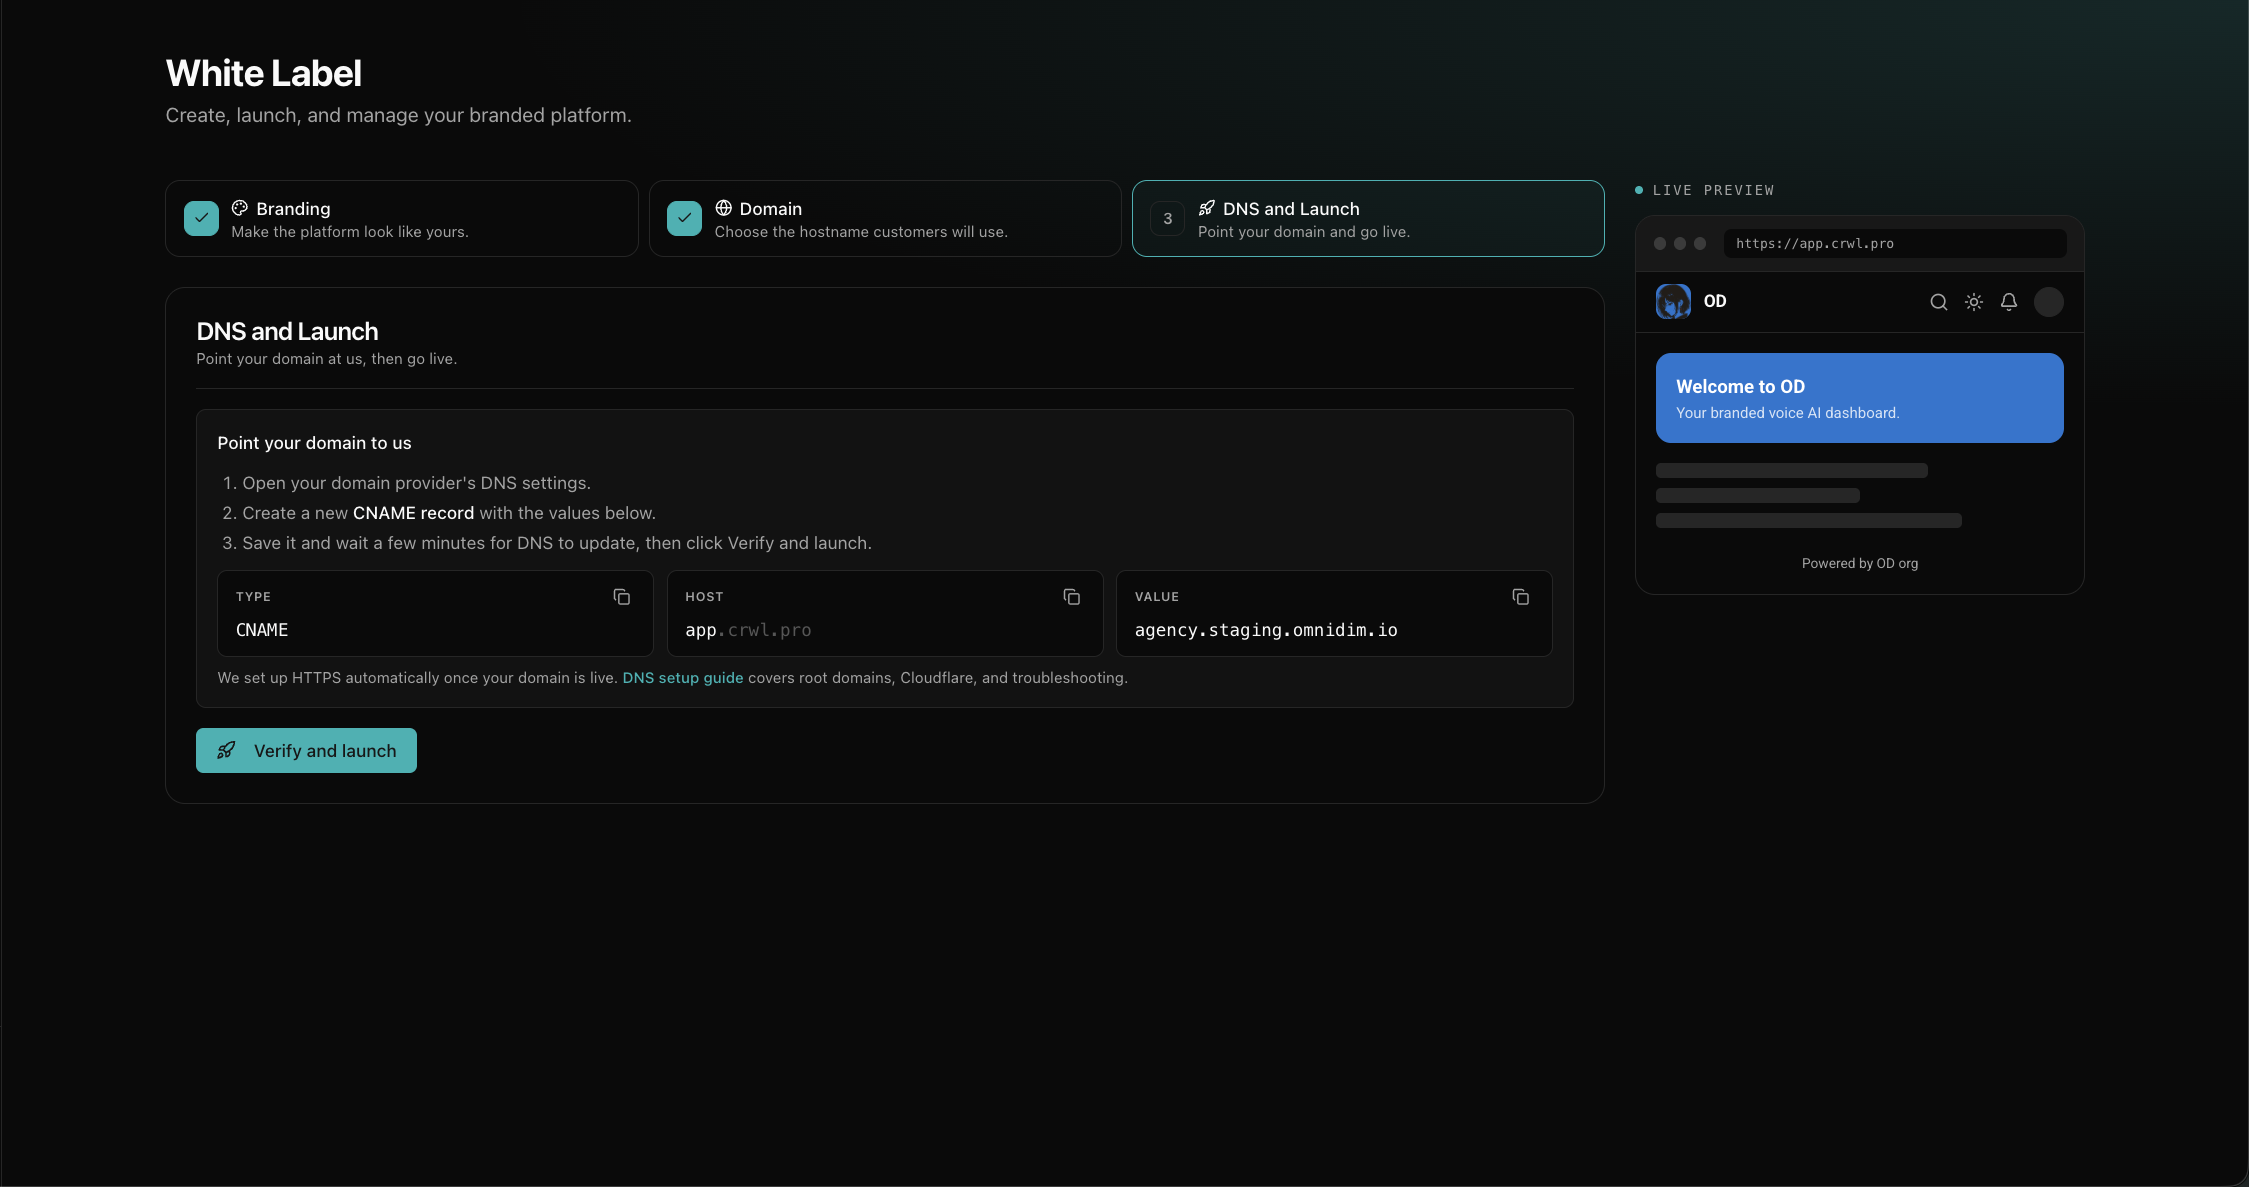
In the DNS and Launch step, the setup shows you the exact DNS record to create: its type, host, and value. Add that one record at your domain provider, save it, and wait a few minutes for DNS to update.
The step shows the exact record, with a copy button on each field:
Those three values map directly onto the fields in your provider's DNS form:
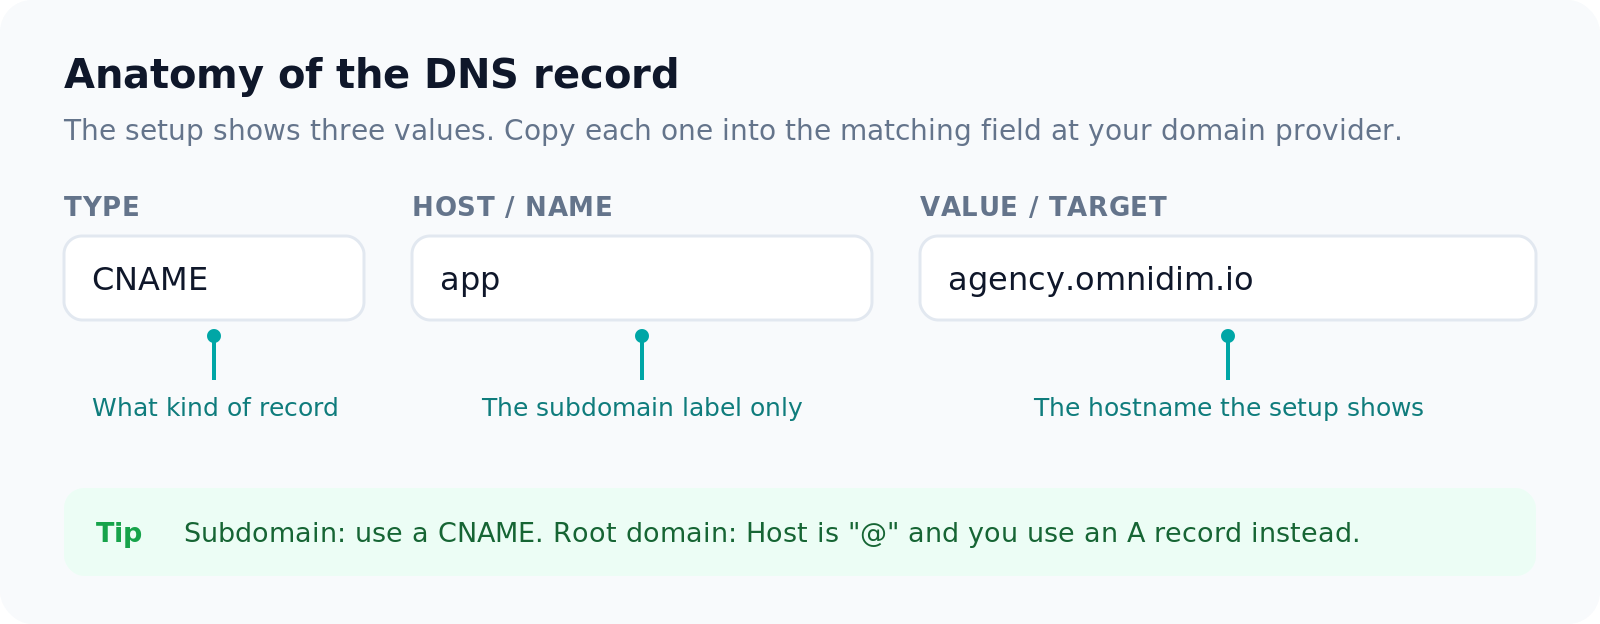
Use a subdomain like app.yourbrand.com for the simplest setup. Root domains,
Cloudflare, and per-provider steps are covered in
Connect your domain.
5. Go live
Click Verify and launch. The moment your domain checks out, your branded platform is live on your own domain over HTTPS, with your clients signing up under your name. There is no extra step and no waiting on us: we issue and renew the SSL certificate for you.
If the check does not pass yet, confirm the record matches what the setup shows, give DNS a few more minutes, and try again. The troubleshooting section walks through the common causes.
6. Update your branding anytime
You do not need everything perfect before you launch, since going live is instant. After launch, the White Label page becomes your management view: update your logo, favicon, colors, font, and which default UI to hide from your users whenever you like. Changes apply to your platform on the next refresh, so you can keep refining your brand after you are live.
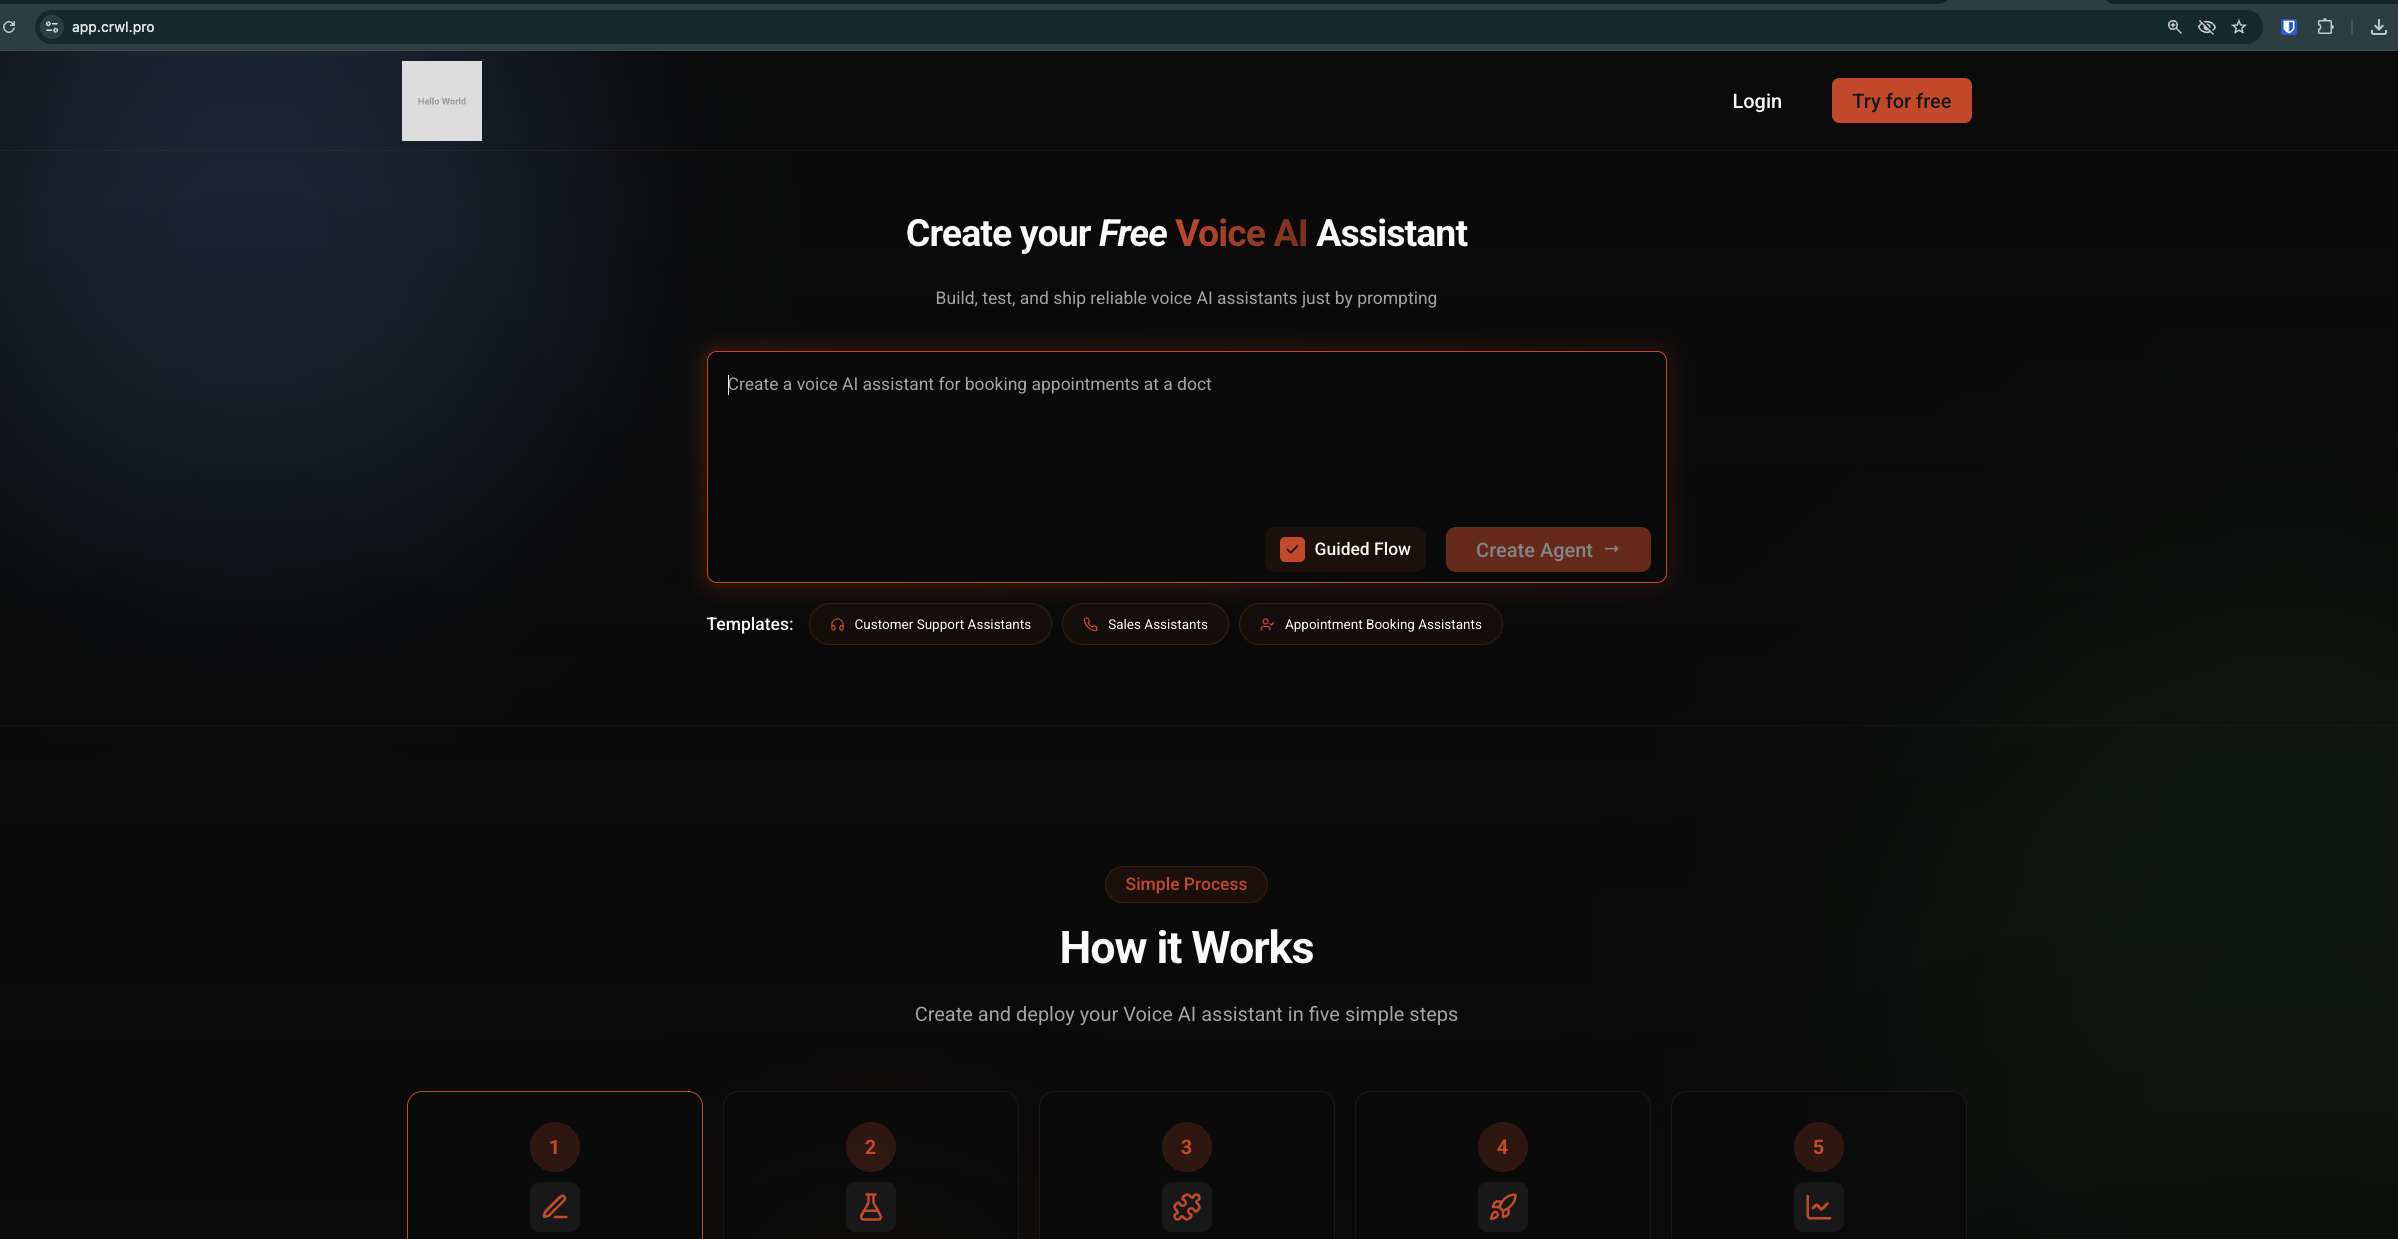
Here is a launched platform, fully branded for its clients:
Next
Once you are live, see Clients and billing to add client workspaces and set your pricing.